How TrailDive works
No manual needed: if you have used Street View, you already know how to move. Here is how to explore a trail and how to read the difficulty grades before you pick your next descent.
In two steps
Find a trail on the map
Search your area or browse the network: every trail shows difficulty, length and elevation before you even open it.
Move through the panoramas, point by point
You move down the trail like on Street View. At every point you turn the view and look around freely.
Inside the panorama
The heart of TrailDive is the viewer. Every point of the trail is a full sphere: what you see is not a video rolling by, but a place where you can stop and look around.
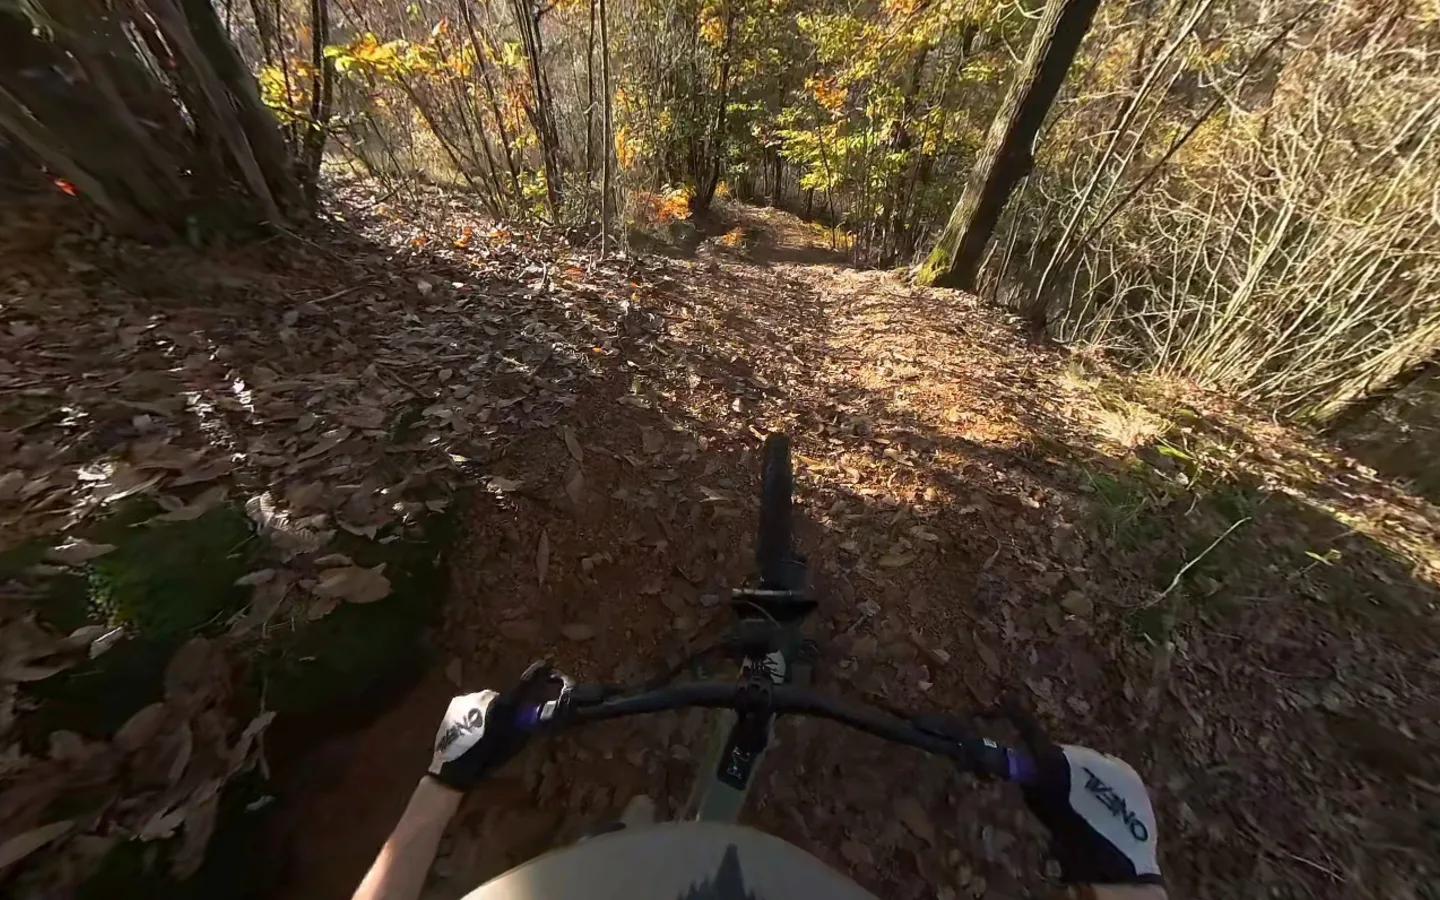
Look anywhere
Every panorama is a full sphere: drag to turn, look behind you, study the ground on a section or the valley below you.
Forward and back
You move down the trail one point at a time. Want to see the entry to a section again? Go back and ride it once more.
Map always in view
A mini map always shows where you are along the track, with altitude and distance covered.
Reading the difficulty
FAQ
Does TrailDive replace your navigation app?
No. You use TrailDive before the ride, at home, to understand what a trail is like. Out on the trail you keep using the tools you already use.
Where do the images come from?
From surveys in the field, in the saddle: the TrailDive team and local Trail Scouts. Every trail is ridden and filmed end to end.
Does it work on a phone?
Yes, in a mobile browser too. To really study the technical sections a big screen is still best.
Ready to explore?
Create an account, ride the trails in first person and keep the ones you want to try on your next ride.